Follow Me On Social Media!
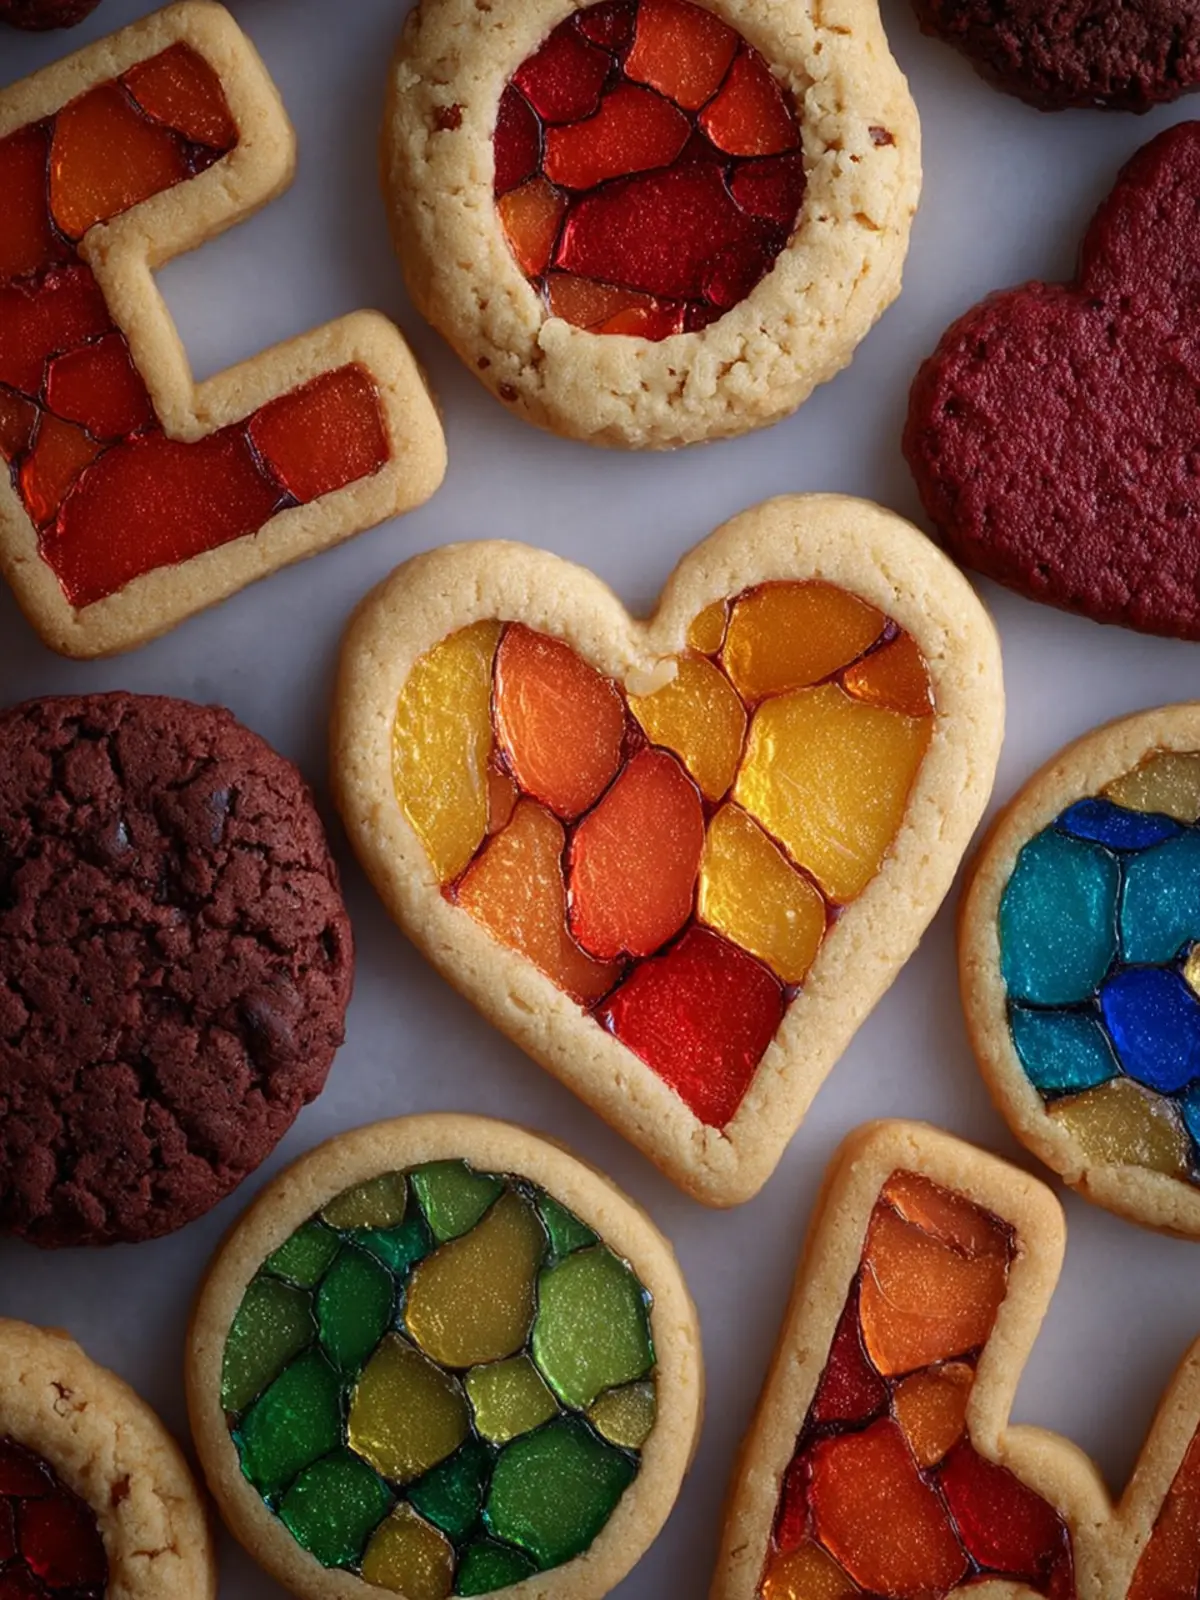
Stained Glass Cookies: Easy, Colorful Treats That Wow!
Introduction to Stained Glass Cookies
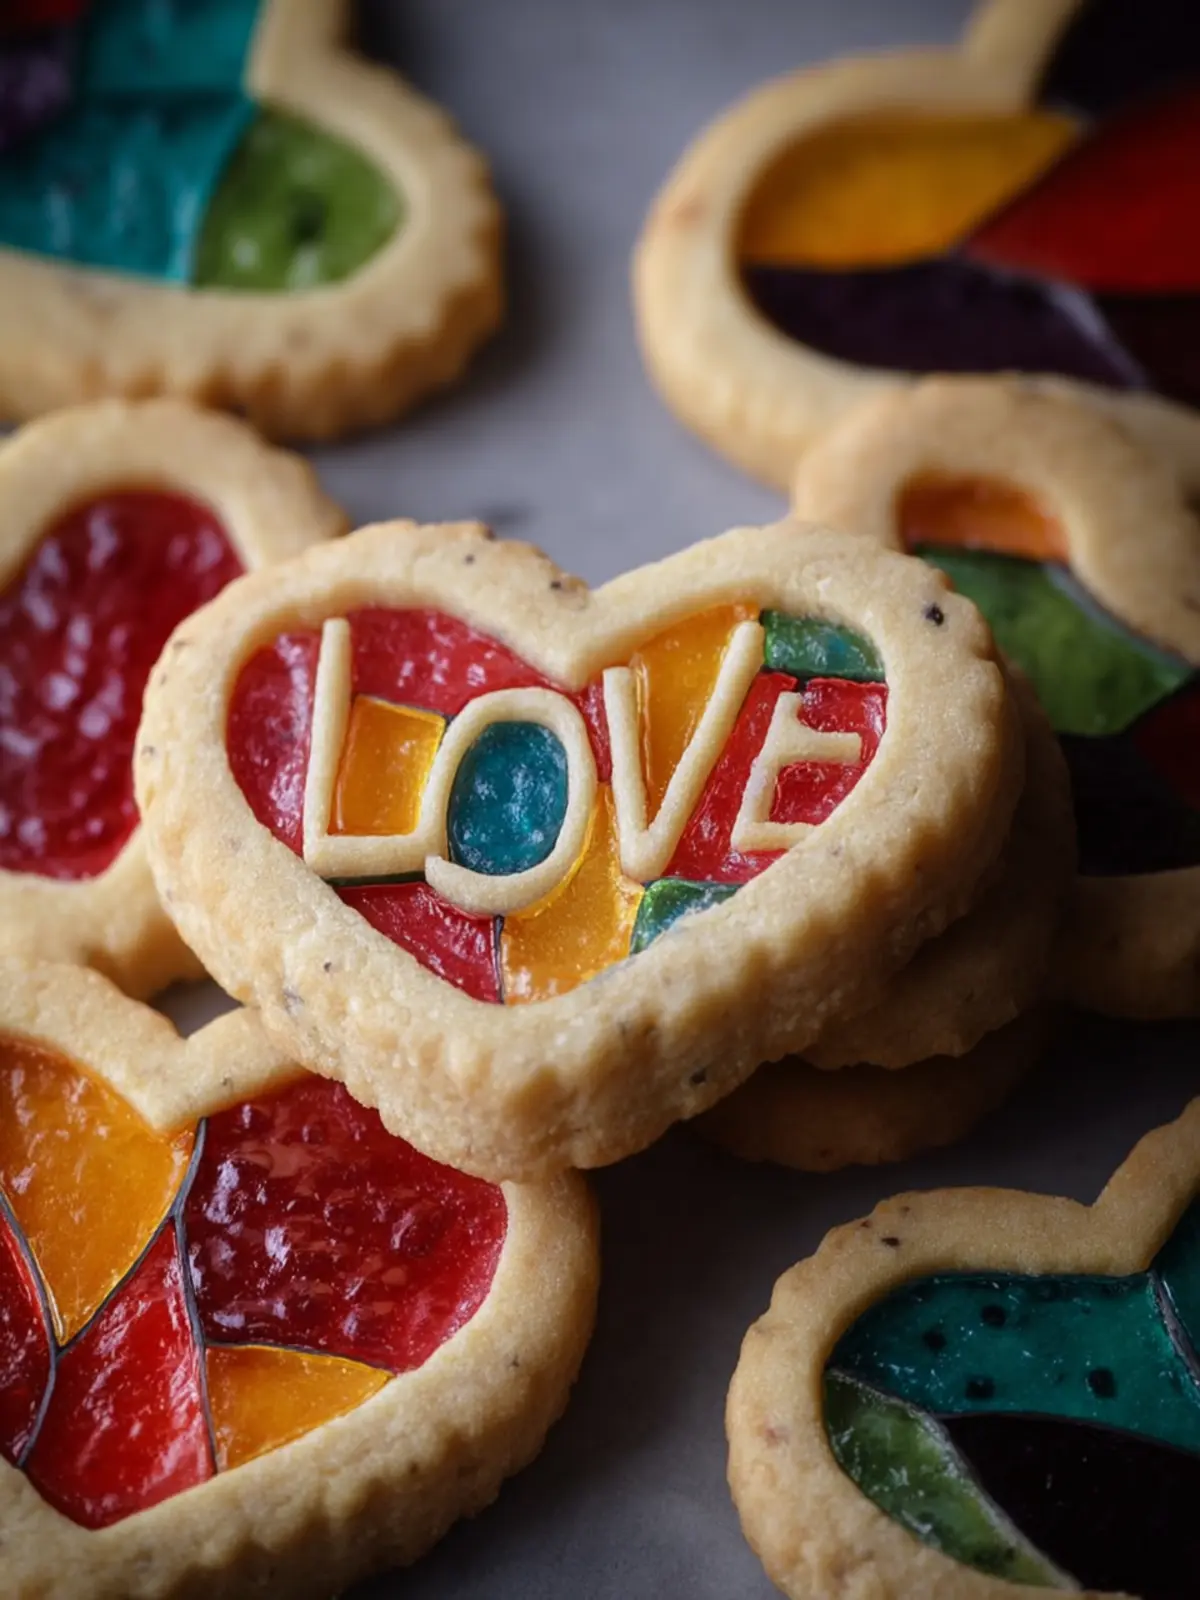
Imagine biting into a cookie that is not only a delight for your taste buds but also a feast for your eyes. Stained glass cookies capture this whimsical essence, transforming ordinary sugar cookies into a work of art. The amazing part? They’re ever so simple to create! With colors shimmering through translucent candy and a crunch that sings with each bite, these cookies make for a memorable treat at any occasion.
What makes stained glass cookies so special? Beyond their stunning appearance, these cookies offer an engaging baking experience. You know that moment when the sweet aroma fills your kitchen, and the anticipation builds as you wait for the oven timer? That’s the magic of baking! The clear candy centers mimic stained glass, making them ideal for holidays, celebrations, or any gathering that could use a splash of color and creativity.
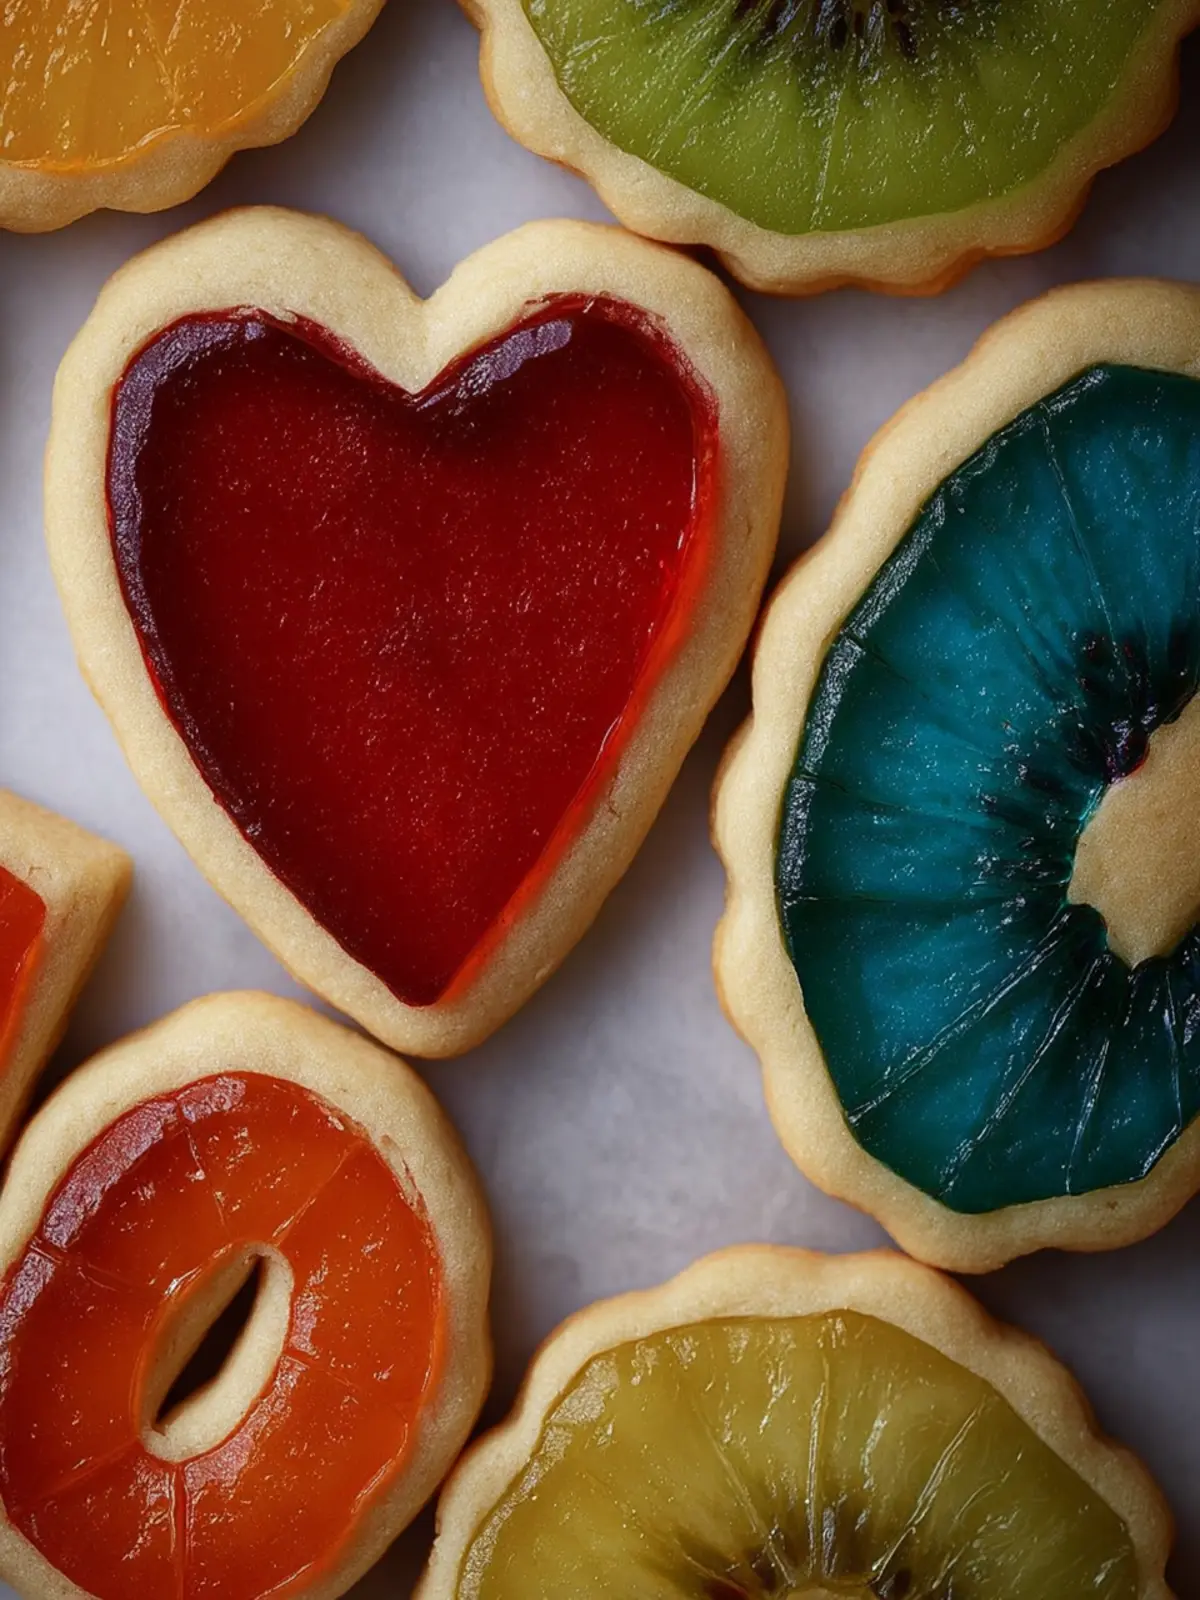
Let’s talk a bit about what makes them shine, literally and figuratively. The cookies themselves are your base—soft, buttery, and sweet—while the colored candy melts in the center, creating a beautiful, jewel-like effect. This unique combination allows for artistic expression; you can choose any colors you like and shape them in various easy-to-manage cookie cutter designs. The beauty really lies in how you can customize them for every season or holiday, making them a go-to recipe that will impress family and friends alike.
Additionally, stained glass cookies offer a tactile and visual experience that is both nostalgic and modern. It’s about gathering around the kitchen with friends or family, rolling out dough, and cutting out shapes, perhaps while listening to your favorite tunes. Who wouldn’t want to share a treat that brings everyone together in such a joyful way?
So get ready to unleash your inner artist as we walk through the steps to create these eye-catching, delicious stained glass cookies. You’ll soon see that not only do they look fabulous, but they taste amazing too!

Key Ingredients for Stained Glass Cookies
Creating delightful stained glass cookies requires a careful selection of ingredients that contribute to both flavor and presentation. Each component plays a vital role in crafting these beautiful treats.
All-Purpose Flour
This forms the base of our cookies, giving them the right structure and texture. The protein content in all-purpose flour ensures that our stained glass cookies have just the right amount of chewiness while remaining light and crisp.
Baking Powder and Cream of Tartar
These leavening agents create a lighter cookie, ensuring the perfect texture. By introducing air into the dough, they help our cookies rise beautifully, resulting in a soft yet sturdy cookie frame for the colorful candy centers.
Butter
I use room temperature butter to achieve that delicious, fluffy consistency. It allows for easy creaming with sugar, creating a rich dough that bakes to a lovely golden hue.
Sugar
Granulated sugar adds sweetness while also contributing to a lovely crispness on the cookie edges. It’s this contrast between soft interiors and crisp edges that makes each bite irresistible.
Eggs
They bind our ingredients together and contribute to the cookies’ rich flavor. The eggs lend moisture and a tender crumb, making each cookie feel like a warm hug.
Vanilla and Almond Extract
These bring an aromatic twist that elevates the cookies to a whole new level. The blend of vanilla and almond enhances the overall flavor profile, leaving your guests wanting more.
Crushed Hard Candy
The star of the show! It fills the windows of our cookies and creates stunning stained glass designs. Not only does it add vibrant color, but melting candy also provides a sweet surprise in each bite.
With these key ingredients, you’re well on your way to creating stained glass cookies that will awe friends and family alike!
Why You’ll Love These Stained Glass Cookies
Stained glass cookies are not just treats; they’re tiny works of art that bring a burst of color and creativity to your dessert table. Each vivid cookie is like a little window into the festivities, making them a showstopper for any gathering. Imagine the joy on your friends’ faces as they admire the stunning patterns formed by the melted candy amidst the buttery, crisp cookie dough. It’s a delightful fusion of craftsmanship and flavor that keeps everyone coming back for more!
In addition to their beautiful appearance, stained glass cookies are surprisingly simple to make. The base is a buttery, sweet dough that anyone can whip up in a flash. Kids can even join in the fun, letting their imaginations soar while choosing the colorful hard candies to fill the centers. Whether you’re baking for a holiday celebration or simply wanting to brighten up your week, these cookies are versatile enough for any occasion.
- Perfect for Decorations: They look wonderful hanging on the Christmas tree or as a centerpiece on your dessert table.
- Personalize Your Creation: Experiment with different candy colors to reflect the season or your taste preferences.
- Deliciously Fun: Enjoy the sweet crunch of the cookie combined with the chewy candy filling that makes each bite a treat.
Try making these stained glass cookies and watch them transform into a favorite among family and friends!
Tips for Making Perfect Stained Glass Cookies
Stained glass cookies are not just a treat; they’re a fun way to get creative in the kitchen while making something beautiful. Imagine biting into a sugary masterpiece that resembles a piece of art. Here are some tips to help you craft the ultimate stained glass cookies that are both visually stunning and delicious.
Choose Your Candy Wisely
To achieve that captivating stained-glass effect, use clear hard candies like Jolly Ranchers. They melt beautifully and create a vibrant, glass-like appearance. Crush them into small pieces for the best results, ensuring they fill the window holes without spilling over too much.
Chill and Roll
After mixing your dough, allow it to chill for at least an hour. Chilling makes it easier to roll out, minimizing stickiness and ensuring cleaner edges. Aim for a thickness of about ¼ inch—thicker cookies may not hold their shape when baking.
Precision with Cutouts
Be precise when cutting out shapes and adding the hard candy in the centers. A small spatula can help you transfer and position the cookies on the baking sheet without distortion.
Watch the Bake
Keep a close eye on your cookies while baking. The edges should be crisp, and the candy center should be melted but not overly puffy. A few minutes can make a significant difference, so set a timer!
With these tips in mind, your stained glass cookies will be the talk of any holiday gathering or special occasion. Happy baking!
Time Details for Stained Glass Cookies
When you’re crafting your beautiful stained glass cookies, timing is key to achieving that delightful crispness and perfect transparency of sugar. Understanding the time required for each part of the process helps ensure your cookies turn out as luscious as they are visually striking.
Preparation Time
Getting started with your stained glass cookies takes about 20 minutes. You’ll mix the dough, roll it out, and cut your cute shapes in this time.
Chilling Time
For the best texture, allow your dough to chill in the refrigerator for at least 30 minutes. This step not only helps to firm up the dough but also makes it easier to handle.
Baking Time
Once they’re in the oven, bake the cookies for about 8 to 10 minutes. You’ll know they’re done when the edges are lightly golden, and the center appears just set.
Total Time
In total, you’re looking at around 1 hour to enjoy these gorgeous treats, including preparation, chilling, and baking time. Get ready to impress your friends and family with your sweet creations!
Nutritional Information for Stained Glass Cookies
When you indulge in stained glass cookies, you’re not just enjoying a treat; you’re experiencing a delightful treat that brings back childhood memories of baking with loved ones. These cookies are not only beautiful but also pack a surprising nutritional punch.
Calories
Each of these eye-catching cookies typically contains around 120 calories. This makes them a perfect addition to your dessert spread without overwhelming your daily intake.
Protein
While stained glass cookies are primarily a sweet delight, they do offer about 1.5 grams of protein per cookie. This small amount can help keep you satisfied, especially when paired with a glass of milk!
Sugar
Like many delightful cookies, stained glass cookies contain approximately 9 grams of sugar each. While it’s essential to enjoy sweets in moderation, these cookies provide a lovely burst of sweetness that makes them hard to resist during the festive season.
FAQs about Stained Glass Cookies
Stained glass cookies are not just treats; they’re a delightful way to brighten up any occasion. If you’re considering whipping up these edible masterpieces, you may have some questions. Here are some common inquiries about making and enjoying stained glass cookies.
Can I make the dough ahead of time?
Absolutely! If you’re aiming to streamline your baking process, you can prepare the dough in advance. Wrap it tightly in plastic wrap and refrigerate for up to three days. This way, when it’s time to bake, all you need to do is roll out the dough and cut your chosen shapes.
How do I store Stained Glass Cookies?
Storing stained glass cookies is a breeze. Once they’ve cooled completely, place them in an airtight container, separating layers with parchment paper to avoid sticking. They can be stored at room temperature for up to a week. If you want to maintain their freshness, consider keeping them in the fridge.
Can I use different types of candy?
Definitely! While traditional stained glass cookies often feature candy like Jolly Ranchers, feel free to experiment. You can use any hard candy that melts well, such as Life Savers or Starburst. Just keep in mind that different candies may change the appearance or flavor slightly.
What’s the best way to cut the cookie shapes?
When cutting cookie shapes, use a sharp cookie cutter for clean edges. If you’re decorating for a specific holiday or theme, have fun by choosing festive shapes like stars, hearts, or Christmas trees. A slight twist of the wrist as you press down helps in achieving that perfect cut, ensuring your stained glass cookies look as delightful as they taste.
Conclusion on Stained Glass Cookies
In the delightful realm of baking, stained glass cookies offer a unique and colorful twist that captivates both the eyes and the taste buds. These cookies not only serve as a testament to your culinary skills but also become a cherished memory, whether rolled out during festive seasons or shared at cozy gatherings with friends. The process of creating these vibrant treats is just as enjoyable as indulging in them—a true blend of artistry and flavor.
Take the time to savor the experience, whether you’re experimenting with bold candy colors or perfecting the dough. Your efforts will surely result in cookies that spark joy and wonder with every bite.
Print
Stained Glass Cookies
- Total Time: 2 hours and 30 minutes
- Yield: 24 cookies 1x
- Diet: Vegetarian
Description
Delicious stained glass cookies made with butter, sugar, and crushed hard candy for a colorful treat!
Ingredients
Scale
- 3 cups all-purpose flour
- 1 teaspoon cream of tartar
- 1 teaspoon salt
- 1 cup butter (room temperature)
- 1 cup sugar
- 2 large eggs
- 1 teaspoon vanilla extract
- 1/2 teaspoon almond extract
- 20–30 pieces crushed hard candy (Life Savers, Jolly Ranchers, or other hard candy)
Instructions
- In a medium-sized bowl, whisk together the flour, cream of tartar, and salt and set aside.
- Place room temperature butter and sugar in the bowl of a stand mixer and cream with the paddle attachment until light and fluffy—about 3 minutes.
- Slowly add the eggs, almond extract, and vanilla extract and mix again until combined.
- Add the flour mixture to the butter mixture and mix until combined. Scrape the bowl to make sure that all of the butter mixture has mixed in completely.
- Cover with plastic and chill in the fridge for about 2 hours (or overnight).
- Preheat oven to 325 degrees F.
- Sprinkle the counter and rolling pin lightly with flour. Roll the dough on your floured surface until it is about 1/4″ thick.
- Cut cookies out into desired shapes, then use a smaller cookie cutter to cut out small shapes inside each cookie to make a stained glass window.
- Place on a baking sheet lined with parchment paper at least 1″ apart.
- Add the crushed candy and fill with as much candy as possible without overfilling the hole.
- Bake in a preheated 325 degree F oven for 8-10 minutes, or until the edges are set and there is just a hint of golden brown color.
- Let the cookies cool for about 2 minutes on the baking sheet before transferring them to a countertop to cool completely.
- Enjoy!
Notes
- Chill the dough for best results.
- Experiment with different types of hard candy for various colors and flavors.
- Prep Time: 20 minutes
- Cook Time: 10 minutes
- Category: Dessert
- Method: Baking
- Cuisine: American
Nutrition
- Serving Size: 1 cookie
- Calories: 120
- Sugar: 8g
- Sodium: 100mg
- Fat: 5g
- Saturated Fat: 3g
- Unsaturated Fat: 2g
- Trans Fat: 0g
- Carbohydrates: 17g
- Fiber: 0g
- Protein: 1g
- Cholesterol: 20mg