Follow Me On Social Media!

Kitchen Sink Cookies: The Ultimate Indulgent Treat to Savor
Introduction to Kitchen Sink Cookies
Imagine a cookie that throws all traditional baking rules out the window and invites every delicious ingredient to the party; that’s the magic of kitchen sink cookies. These delightful treats are not just a blend of flavors — they’re a canvas where your culinary creativity can run wild. Born from the idea of tossing in whatever you have at hand, kitchen sink cookies are a fantastic way to clean out your pantry while treating yourself and your friends to something truly scrumptious.
This isn’t just about mixing a bag of chocolate chips into a cookie dough; it’s about bringing together a medley of textures and flavors. Think nuts, dried fruits, or even pretzels mingling harmoniously with your classic cookie base. The result? A cookie that’s chewy, crisp, salty, and sweet all at once! If you love recipes where you can adapt to your preferences or experiment with new ingredients, then these cookies will quickly become a favorite in your kitchen.
What are Kitchen Sink Cookies and Why Are They So Great?
Kings of flexibility, kitchen sink cookies invite you to experiment. If you’ve ever found yourself caught between a craving for chocolate and a desire for something fruity, these cookies have your back. They allow you to mix and match a variety of ingredients based on what’s available in your pantry, which is perfect for the busy, young professional looking to maximize both taste and efficiency.
-
Limitless Creativity: The beauty of these cookies is that there are no hard and fast rules. You can customize your batch with limitless possibilities like:
-
Semi-sweet or dark chocolate chips
-
Nuts for crunch (walnuts, pecans, or almonds)
-
Diced dried fruits (raisins, cranberries, or apricots)
-
A sprinkle of sea salt to enhance the flavors
-
Perfect for Sharing: Whether you’re hosting friends or bringing a treat to the office, a batch of kitchen sink cookies is sure to impress. They’re a crowd-pleaser not just for their taste but for their unique characteristics; every cookie can be slightly different!
So why wait? Dust off that mixing bowl and get ready to create a cookie that’s as unique as you are!

Key Ingredients for Kitchen Sink Cookies
When it comes to kitchen sink cookies, the magic lies in using a diverse array of ingredients that combine to create an explosion of flavors and textures. Each component plays a vital role in making these cookies not just tasty, but an unforgettable treat.
Butter
I prefer using unsalted butter as it provides excellent flavor without adding extra saltiness. Allowing it to soften to room temperature ensures a smooth, creamy texture. This buttery richness is what keeps the cookies moist and luscious.
Sugars
For sweetness, I use a mix of granulated sugar and brown sugar. The granulated sugar helps with the cookie’s structure, while the brown sugar adds moisture and a hint of caramel flavor that elevates each bite.
Eggs
In this recipe, one large egg is the key to binding the ingredients together. It adds richness and contributes to the cookie’s delightful chewy texture.
Flour
I typically reach for all-purpose flour, as it gives the cookies stability without being too dense. It’s essential for achieving that perfect balance of softness and chewiness in your kitchen sink cookies.
Baking Soda
This ingredient is vital for leavening, ensuring that the cookies puff up slightly and bake to a chewy perfection rather than being flat and dense.
Salt
A pinch of salt is crucial; it heightens all the flavors, making each bite more enjoyable. It’s a simple addition that can make or break your cookie experience.
Mix-ins
Now for the fun part! I often toss in a variety of mix-ins like:
- Pretzels for a salty crunch
- Potato chips for a delightful twist
- Chocolate chips for that classic sweetness
- Caramel or butterscotch chips for a sweet surprise
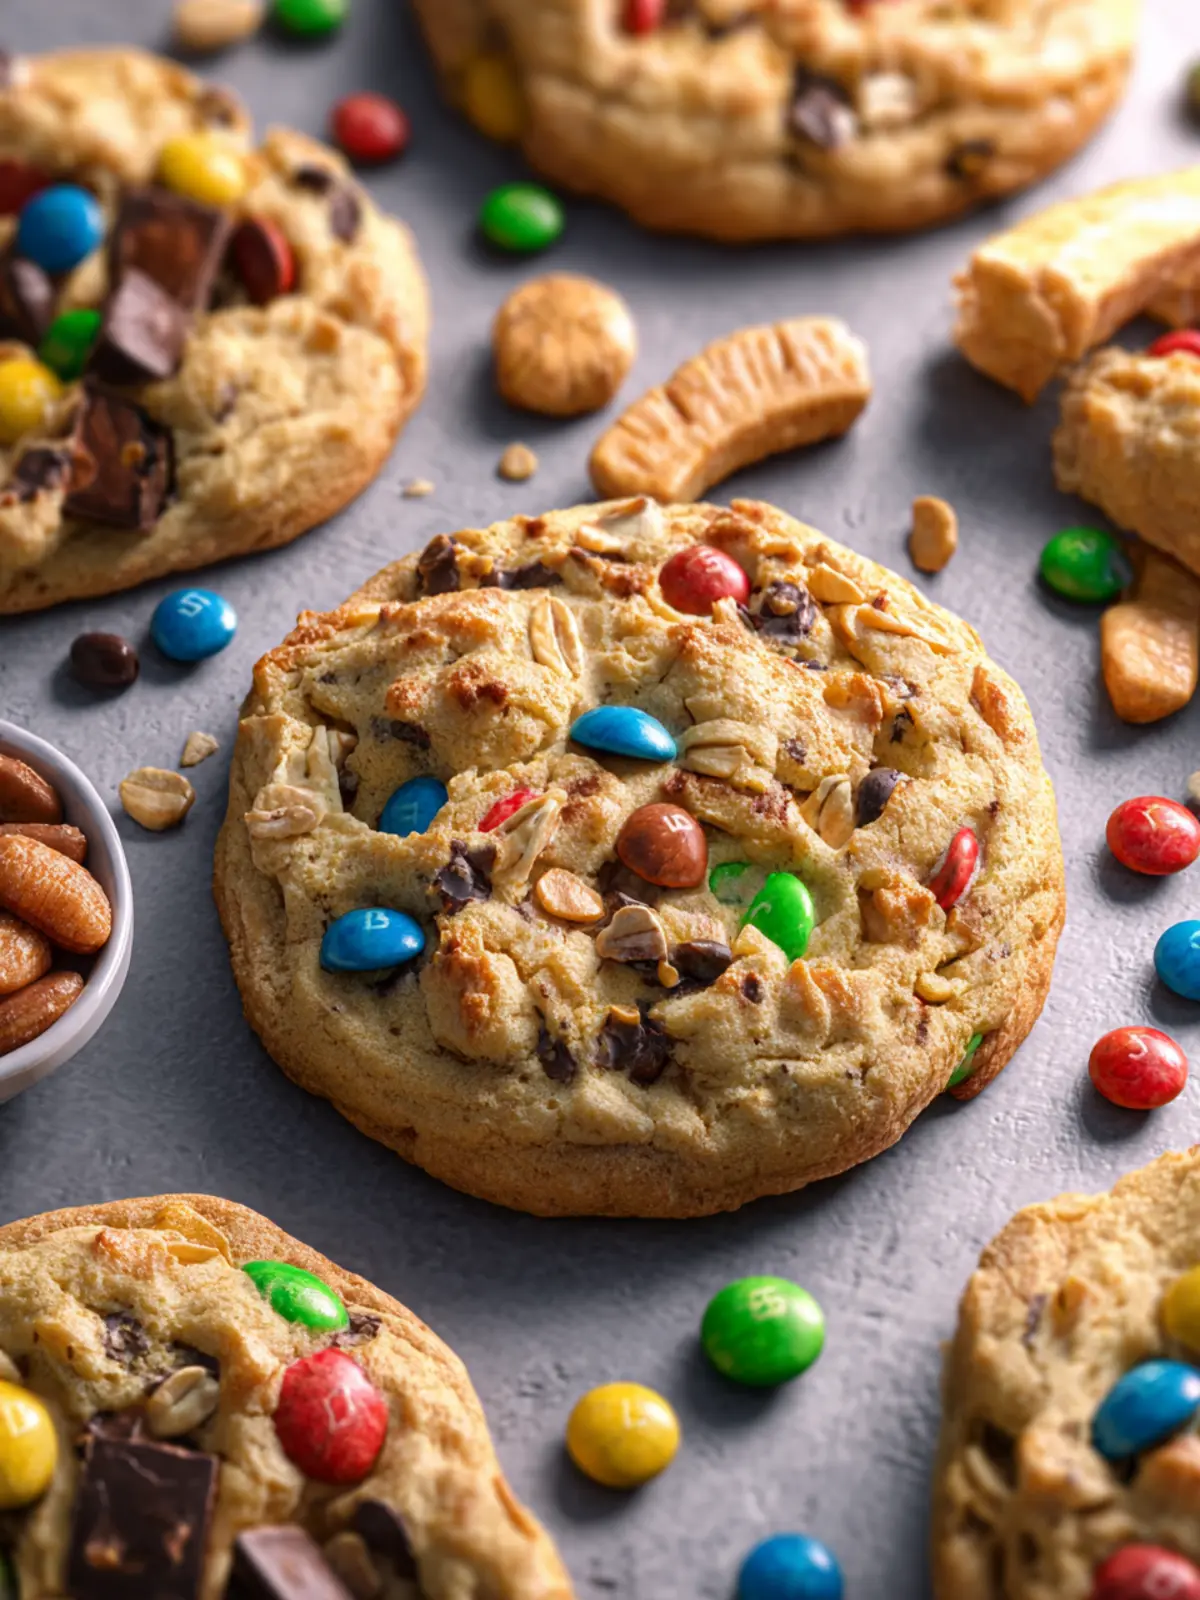
- Mini M&Ms for pops of color and fun
Using a combination of these mix-ins is what truly makes kitchen sink cookies stand out, providing a little something for everyone. Enjoy experimenting with your favorites!
Why You’ll Love These Kitchen Sink Cookies
Kitchen sink cookies are not just a treat; they’re a cozy experience that satisfies your every craving. Imagine pulling a warm batch from the oven, the scent mingling with memories of childhood baking—these cookies embody that nostalgic comfort. Each bite is an invitation to a delightful world of flavors and textures.
Perfect for satisfying cravings
Whether you’re in the mood for something sweet, salty, or a little bit of both, kitchen sink cookies have you covered. They combine ingredients you love, from chocolate chips to crunchy nuts and chewy dried fruits. This makes them the perfect choice when that sudden craving strikes, offering a delightful medley of flavors.
Customizable for every taste preference
What makes kitchen sink cookies truly special is their versatility. Feel free to mix and match your favorite ingredients—add pretzels for a salty crunch, or swap in peanut butter chips for a nutty twist. The options are limitless, making it easy to create a cookie that fits any occasion or personal taste.
Perfect balance of textures
The joy of biting into a kitchen sink cookie lies in its delightful contrast of textures. Each cookie offers a beautiful combination of crispy edges, chewy centers, and the satisfying crunch of added ingredients, creating a bite that’s as exhilarating as it is comforting. Enjoying these cookies is not just about taste; it’s an experience that engages all your senses.
Tips for Making Perfect Kitchen Sink Cookies
Creating kitchen sink cookies is as much about the process as it is about the ingredients. Here are some handy tips to elevate your cookie game!
Measuring your ingredients accurately
Precision plays a vital role in baking success. When preparing kitchen sink cookies, consider using a kitchen scale for dry ingredients. A cup of flour can weigh differently based on how it’s packed, and measuring by weight ensures a consistent result every time. For liquids, using a clear measuring cup with measurement markings will help you get it just right.
The importance of room temperature ingredients
Using ingredients at room temperature, particularly butter and eggs, leads to a better dough consistency. Softened butter blends more easily into the sugars, giving your cookies a smoother texture. Warm eggs help bind everything evenly, promoting a uniform bake. If you’ve forgotten to take them out ahead of time, a quick microwave tip will help—just warm them for about 10 seconds!
Mixing method for optimal texture
Overmixing can lead to tough cookies. For kitchen sink cookies, mix the dry and wet ingredients together until just combined. Gently fold in your mix-ins—chocolate, nuts, or dried fruits—to maintain that delightful chewiness. Remember, a little light mixing can go a long way!
Cooling properly for the best results
Once out of the oven, resist the urge to dig in immediately. Allowing your cookies to cool on the baking sheet for about 5 minutes lets them firm up, making it easier to transfer them to a wire rack. This cooling time locks in moisture, keeping your cookies soft and delicious!
Time Details for Kitchen Sink Cookies
When it comes to baking kitchen sink cookies, timing is everything! These delightful treats combine an array of flavors, making them a perfect go-to for any cookie enthusiast. Let’s break down the essential time details to ensure your baking experience is smooth and your cookies are simply irresistible.
Preparation Time
To kick things off, the preparation time typically takes about 15-20 minutes. This includes gathering your ingredients—like chocolate chips, nuts, and maybe even some pretzels—and mixing everything together. You’ll want to have all your components ready before diving into the baking process.
Baking Time
Once your dough is prepared and ready to go, it’s time for the oven to work its magic! Baking these delicious kitchen sink cookies will take about 10-12 minutes. Keep an eye on them for that perfect golden-brown look.
Total Time
From start to finish, you’ll spend approximately 30-32 minutes to whip up these tasty cookies. In no time, you’ll be enjoying warm cookies that are perfect for sharing—or keeping all to yourself!

Nutritional Information for Kitchen Sink Cookies
When you bake a batch of kitchen sink cookies, the comforting aroma fills your home, embodying a delightful blend of flavors that can brighten even the dullest of days. These cookies are a treat that also come with some important nutritional insights.
Calories
Each kitchen sink cookie contains approximately 120 calories, making them a satisfying yet indulgent option for a quick snack.
Protein
With around 2 grams of protein per cookie, you’re getting a small boost to keep you energized throughout your busy day.
Sugar Content
Each cookie has about 8 grams of sugar. While they are not the low-sugar option, those sweet bites come with a delightful mix of ingredients that satisfy your cravings.
Serving Size
A typical serving size is one cookie, perfect for when you need a quick pick-me-up or a sweet end to your meal. Enjoy responsibly!
FAQs about Kitchen Sink Cookies
Kitchen sink cookies have become a beloved favorite, bursting with a delightful combination of flavors and textures. They’re the perfect canvas for creativity in baking, allowing you to use whatever sweet treats you have on hand. Whether you’re hosting a gathering or just craving a sweet snack, this approachable cookie recipe has you covered!
Can I use different types of chips?
Absolutely! One of the joys of kitchen sink cookies is their versatility. While chocolate chips are classic, you can easily substitute with butterscotch, white chocolate, or even peanut butter chips. Mix and match based on your preferences or whatever you have in your pantry for a fun twist.
What if I don’t have all the add-ins?
No worries! The beauty of kitchen sink cookies is that they thrive on improvisation. If you’re missing some add-ins like nuts, dried fruits, or specific types of chips, just use what you have on hand. Feel free to scale down or increase the quantity of other ingredients. They will still turn out delicious!
How do I store leftover cookies?
To keep your kitchen sink cookies fresh, store them in an airtight container at room temperature. They’ll typically stay soft and chewy for about a week. For optimal freshness, consider placing a slice of bread in the container; it helps maintain moisture levels in the cookies.
Can these cookies be frozen?
Yes, you can definitely freeze kitchen sink cookies! After baking, let them cool completely, then place them in a freezer-safe bag or container. They can last up to three months in the freezer. When you’re ready to enjoy them, simply thaw at room temperature or warm them in the oven for that freshly-baked softness.
Conclusion on Kitchen Sink Cookies
In the world of kitchen sink cookies, versatility is key. These delightful treats allow you to use whatever ingredients you have on hand, making them perfect for any occasion. Whether it’s chocolate chips, nuts, or dried fruits, you can let your creativity shine. These cookies are not just a dessert; they’re a baking adventure that can embody the spirit of experimentation. Furthermore, they are a fantastic way to bring family and friends together in the kitchen, creating memories alongside yummy snacks. So, the next time you bake, remember to embrace the chaos with kitchen sink cookies, and savor the delicious results!
Print
Sweet and Salty Cookies
- Total Time: 35 minutes
- Yield: 24 cookies 1x
- Diet: Vegetarian
Description
These sweet and salty cookies combine the best of both worlds with pretzels, chocolate chips, and potato chips for a delicious treat!
Ingredients
Scale
- ¾ cup unsalted butter (melted and cooled slightly)
- 1 ¼ cups light brown sugar
- ¼ cup granulated sugar
- 1 large egg (at room temperature)
- 1 large egg yolk (at room temperature)
- 1 tablespoon vanilla extract
- 3 cups sifted all-purpose flour
- ½ teaspoon baking soda
- ¼ teaspoon kosher salt
- ½ cup pretzels (broken into pieces)
- ½ cup potato chips (lightly crushed)
- ¼ cup semi sweet chocolate chips
- ¼ cup caramel or butterscotch chips
- ¼ cup mini M&Ms
Instructions
- Preheat oven to 325F. Line baking sheets with parchment paper. Set aside.
- In a large bowl, whisk butter and sugars together until well combined.
- Whisk in egg, egg yolk, and vanilla until combined.
- Add flour, baking soda, and salt. Use a rubber spatula to mix again until just combined.
- Add pretzels, potato chips, chocolate chips, caramel chips, and mini M&Ms. Mix until just incorporated. You may need to use your hands to mix it in if that’s easier.
- Scoop ¼ cup of batter at a time and form into balls. Place on the baking sheets about 3 inches apart. Lightly flatten each ball with your hand.
- Top with additional pretzels, chips, chocolate chips, or M&Ms.
- Bake for about 15-20 minutes, or until edges of the cookies are lightly browned and middles are just set.
- Let cookies cool completely on the baking sheet before removing.
Notes
- Using different types of pretzels can add variety to the flavor.
- You can substitute the chocolate chips with your favorite type of chocolate.
- Store cookies in an airtight container to keep them fresh.
- Prep Time: 15 minutes
- Cook Time: 20 minutes
- Category: Desserts
- Method: Baking
- Cuisine: American
Nutrition
- Serving Size: 1 cookie
- Calories: 150
- Sugar: 10g
- Sodium: 75mg
- Fat: 8g
- Saturated Fat: 4g
- Unsaturated Fat: 2g
- Trans Fat: 0g
- Carbohydrates: 20g
- Fiber: 1g
- Protein: 2g
- Cholesterol: 25mg