Follow Me On Social Media!
Homemade Cheesy Breadsticks: Irresistibly Gooey & Easy to Make
Introduction to Homemade Cheesy Breadsticks
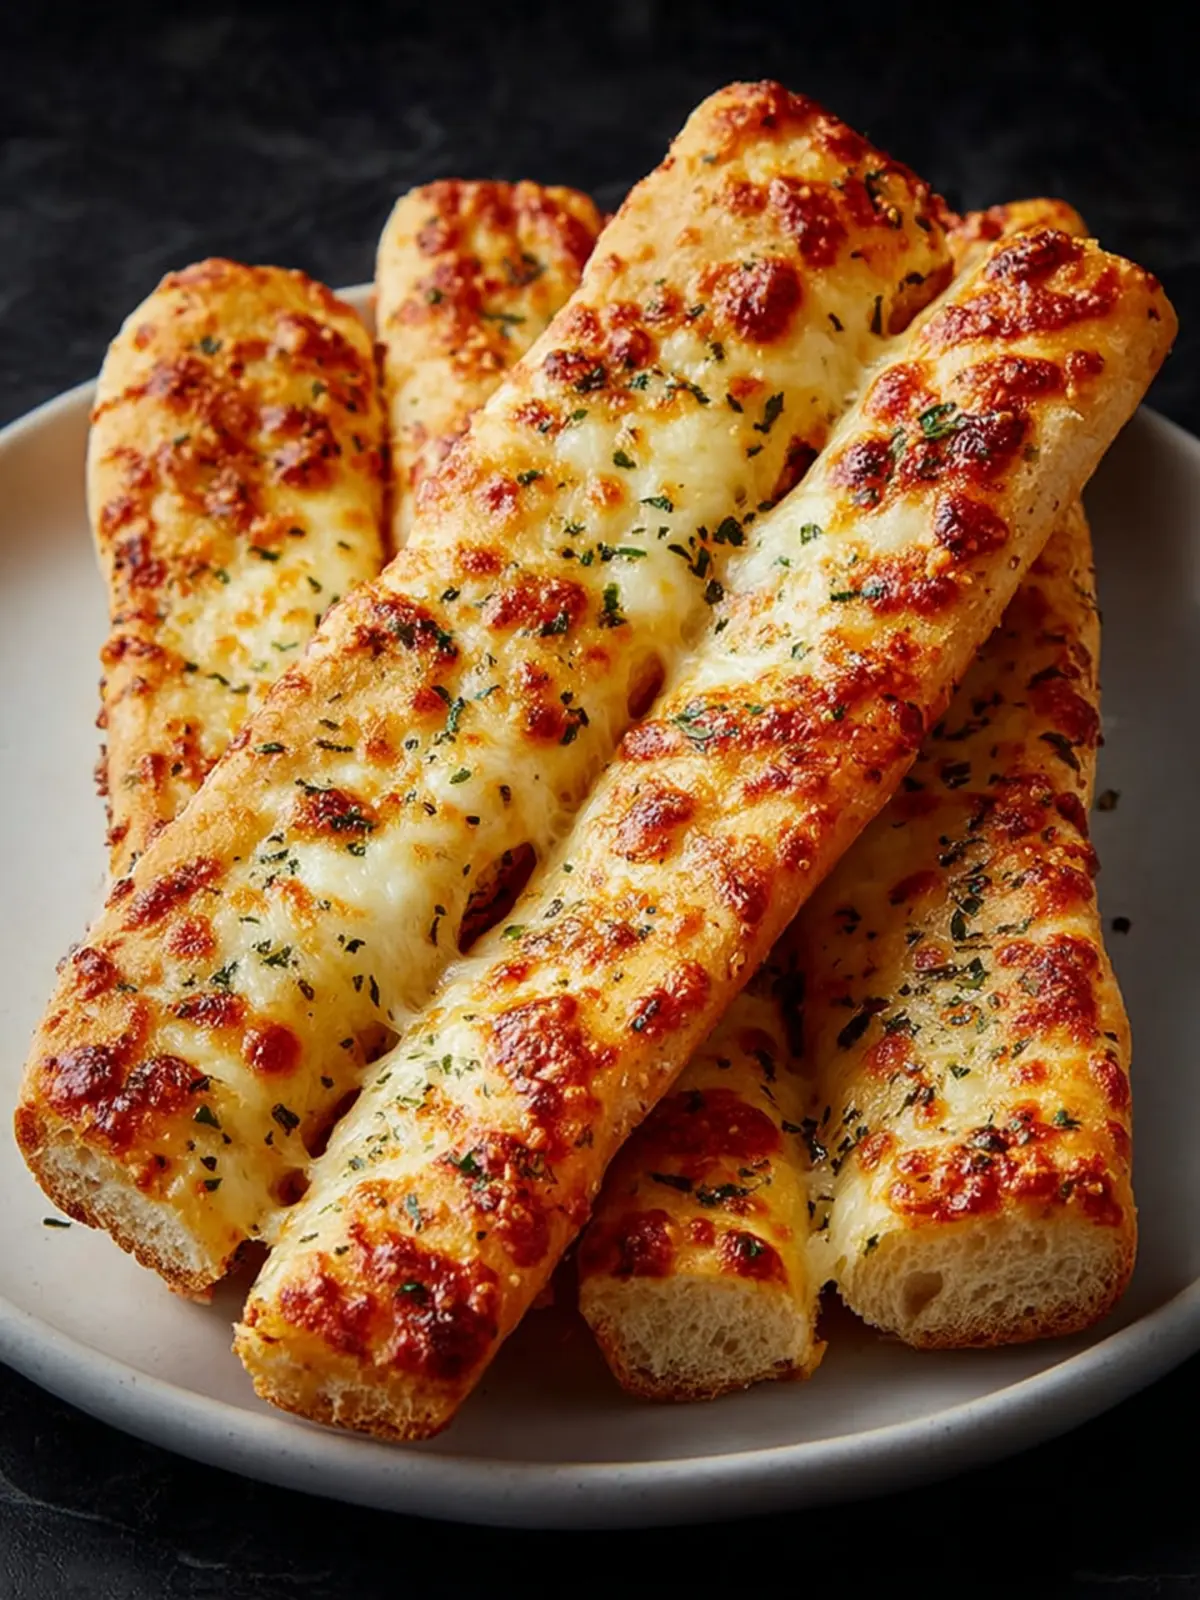
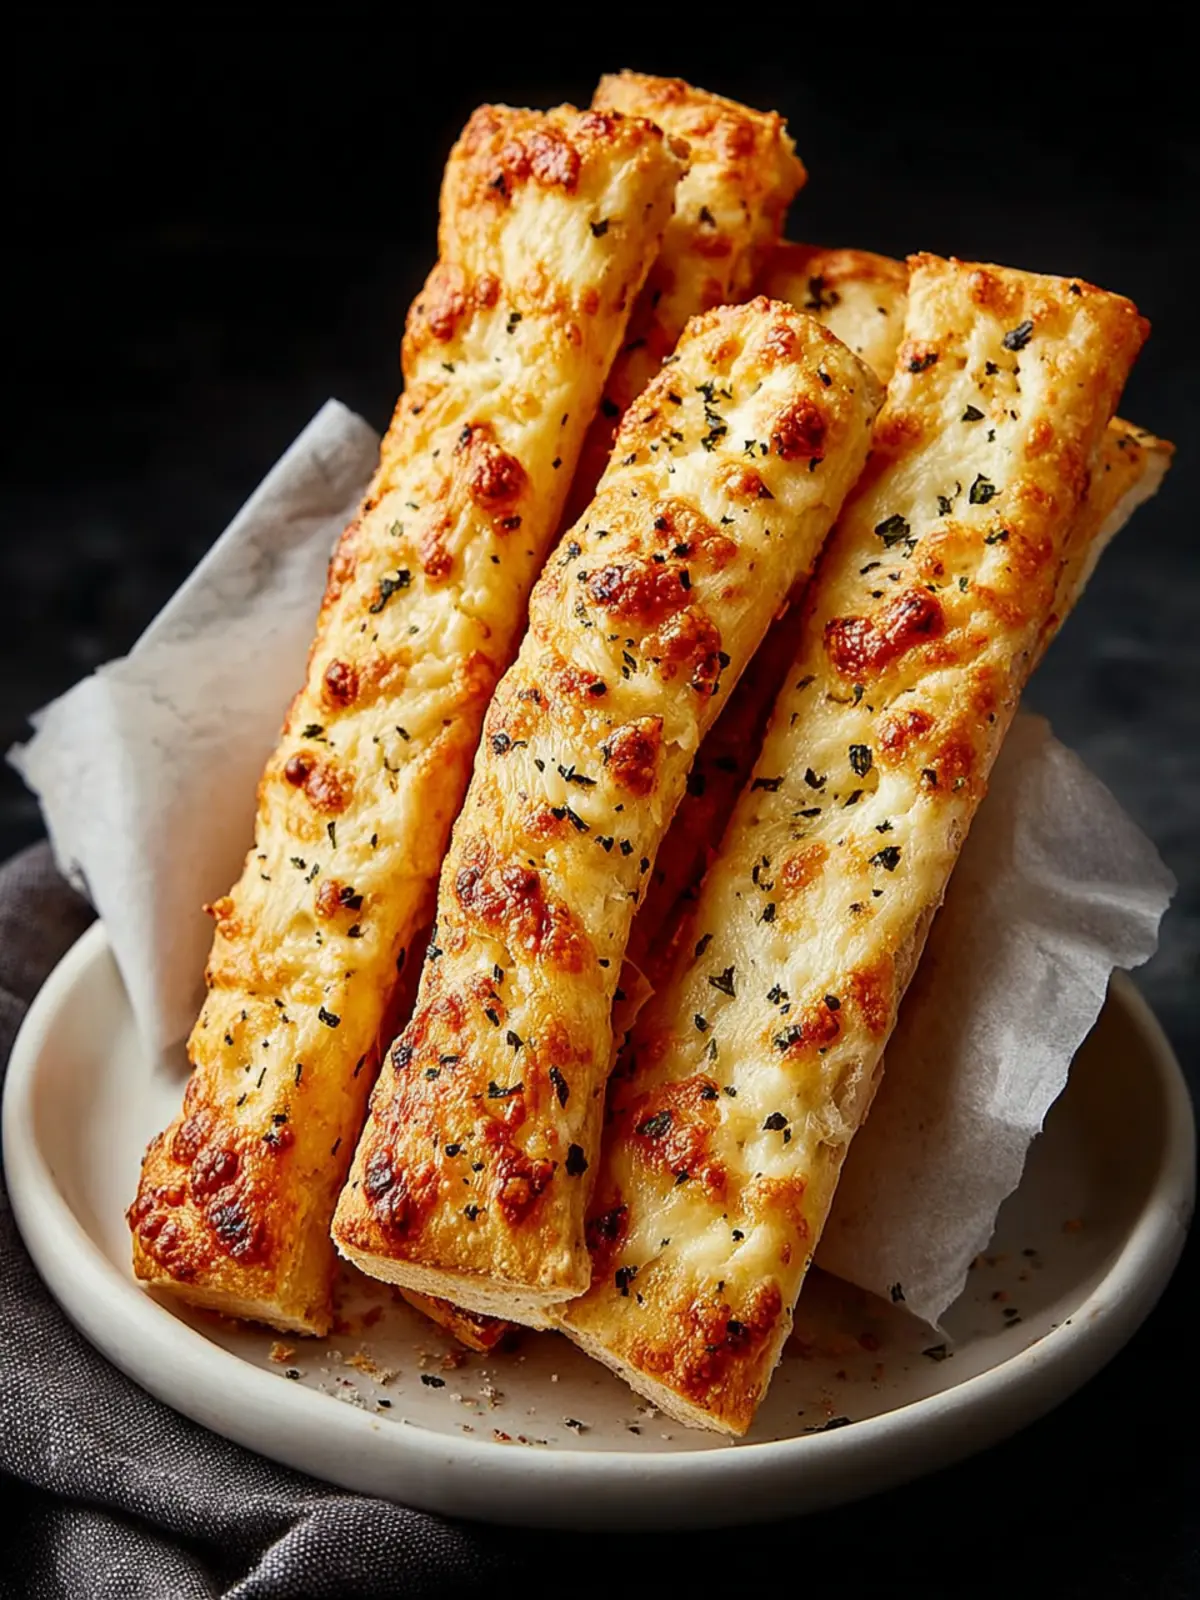
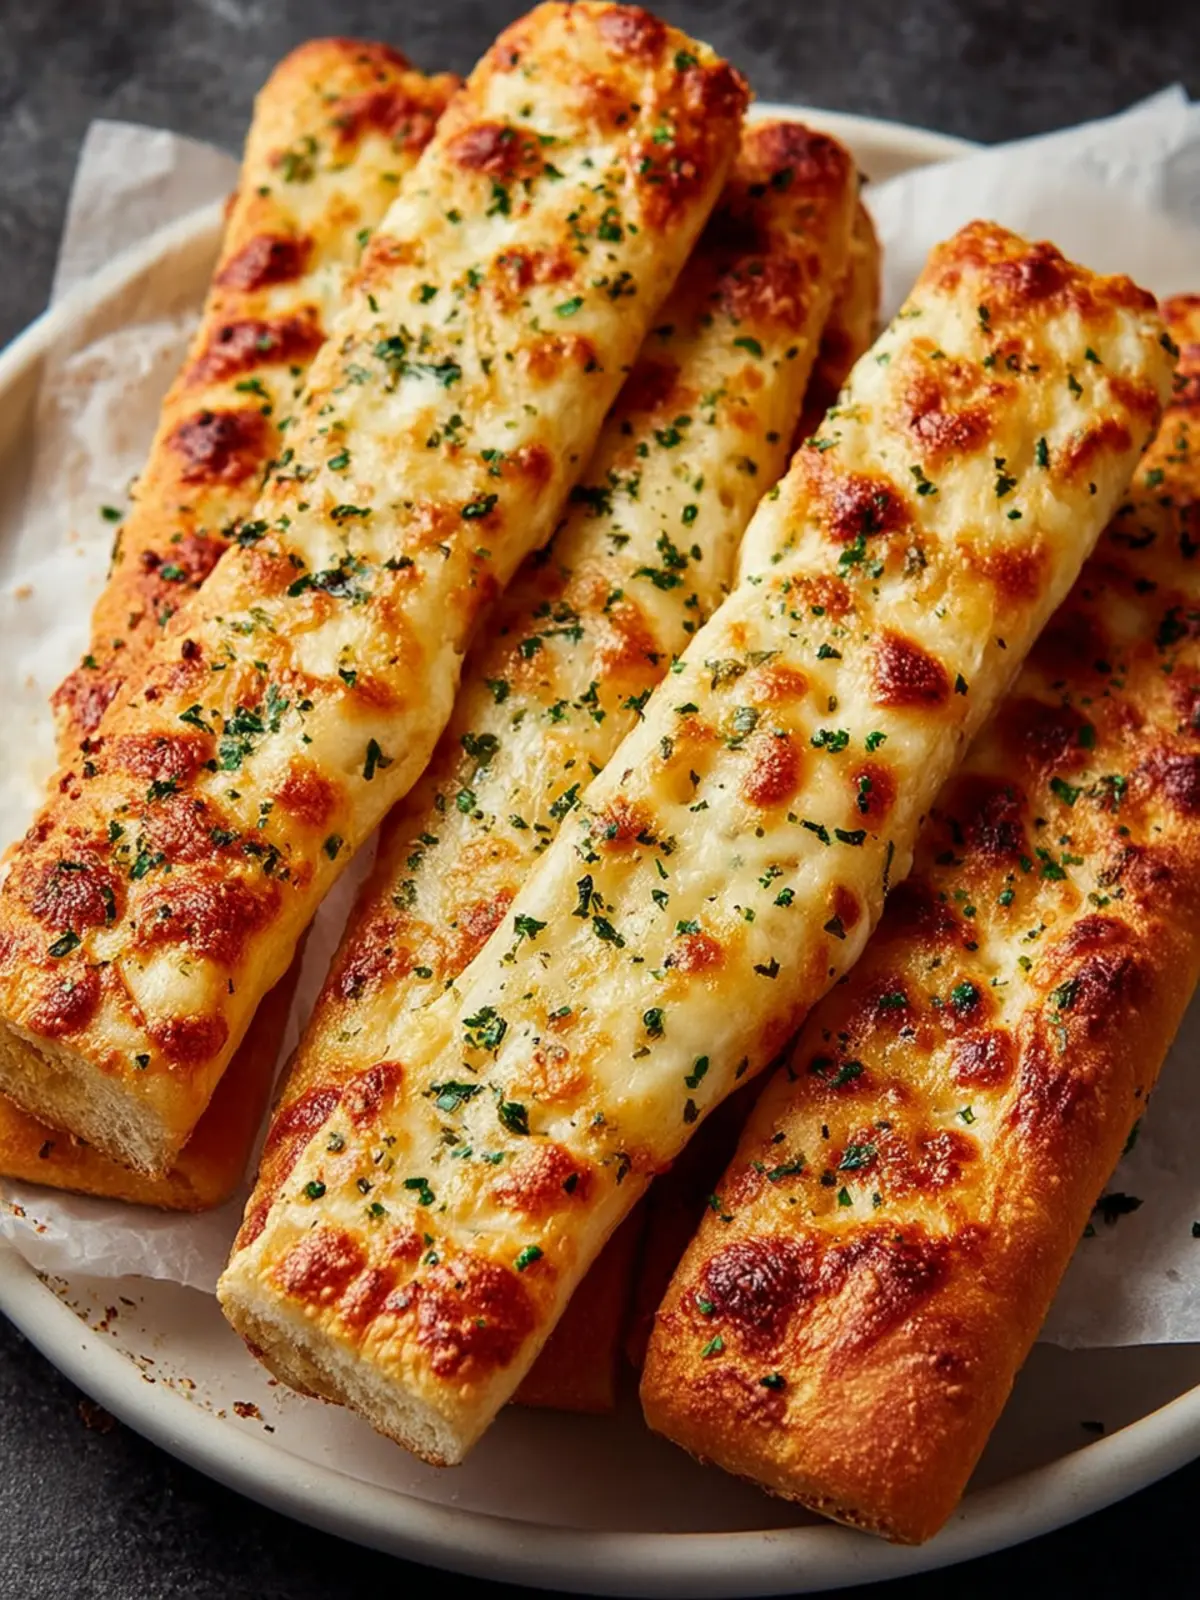
When the aroma of homemade cheesy breadsticks wafts through the kitchen, it’s hard to imagine anyone resisting that warm, melty goodness. As I recall many cozy evenings spent with friends, gathered around the table, these breadsticks never failed to steal the show. There’s something magical about the combination of golden, crispy edges and gooey cheese that brings people together over shared plates and laughter. Whether it’s for a game night, movie marathon, or a simple family dinner, homemade cheesy breadsticks elevate any occasion to a delightful feast.
The beauty of making your own cheesy breadsticks lies in the customization options that store-bought varieties simply can’t offer. Do you prefer a robust garlic flavor, or perhaps a sprinkle of Italian herbs? Want to experiment with different cheeses? It’s all possible when you venture into making them yourself. Plus, the satisfaction of pulling a fresh batch from the oven is unbeatable—both in taste and in experience.
Creating homemade cheesy breadsticks allows you to embrace creativity. By adjusting the recipe to suit your taste buds, you can create something uniquely yours. Imagine the joy of serving your guests a dish that not only tastes amazing but also fills your home with a comforting aroma. These breadsticks can be the start of a fantastic meal or a delectable snack on their own, paired perfectly with marinara sauce or a zesty dip.
In this recipe, I encourage you to keep it simple yet flavorful. With a few essential ingredients and a little bit of time, you can whip up a batch that’s not only delicious but also incredibly fulfilling. It’s all about that satisfying cheese pull and the crispiness you crave. Are you ready to embark on this cheesy adventure? Let’s dive into what makes these homemade cheesy breadsticks a must-try recipe.
What Makes Homemade Cheesy Breadsticks Irresistible?
The secret to irresistible homemade cheesy breadsticks begins with the right ingredients, each contributing to the delightful flavors and textures that make them unforgettable:
- Dough: A simple yet effective dough serves as the base. The balance of flour, yeast, and a touch of sugar creates a light and airy foundation.
- Cheese: The real star! Blending different types of cheese, such as mozzarella for melty gooeyness and parmesan for a tangy bite, results in a flavor explosion.
- Seasonings: A mix of garlic powder, Italian herbs, and a sprinkle of salt enhances each bite, bringing out the flavors beautifully.
- Garlic Butter Top: Brushing melted butter infused with garlic on top before baking adds a rich, savory finish that you simply can’t resist.
Get ready to take your taste buds on an unforgettable journey as you create these homemade delights!
Key Ingredients for Homemade Cheesy Breadsticks
Creating homemade cheesy breadsticks at home can be a delightful experience, especially when you know the key ingredients to make them irresistibly gooey and flavorful.
-
Pizza Dough: The foundation of your breadsticks starts with fresh pizza dough. You can opt for store-bought, but I highly recommend making your own. It gives you that perfect chewiness and flavor that’s hard to beat.
-
Mozzarella Cheese: For that classic cheesy pull, use fresh mozzarella. It melts beautifully, creating a stretchy texture your guests will love. If you want a sharper flavor, consider adding some grated Parmesan to the mix.
-
Garlic Butter: This is where the magic happens! By blending melted butter with minced garlic and a bit of parsley, you elevate the flavor profile of your breadsticks while adding a delightful golden finish.
-
Herbs and Seasonings: A sprinkle of Italian seasoning or oregano adds an aromatic touch, enhancing the overall taste of your homemade cheesy breadsticks. Just remember, a little goes a long way!
When you gather these ingredients, you’re not just preparing a dish; you’re crafting an experience that pairs perfectly with pizza night or a cozy movie evening.
Why You’ll Love This Recipe
Imagine pulling a tray of homemade cheesy breadsticks from the oven, the aroma wafting through your kitchen, enticing everyone around. Nothing feels more comforting than indulging in warm, gooey cheese nestled within golden, crispy breadsticks. This recipe not only delivers on flavor but also transforms any meal into a special occasion.
-
Simplicity at Its Best: You don’t need to be a professional chef to whip up these breadsticks. With just a handful of ingredients and straightforward steps, you’ll have bakery-quality breadsticks ready in no time.
-
Perfect for Sharing: Whether you’re hosting friends for game night or enjoying a cozy dinner at home, these cheesy delights are perfect for sharing—everyone loves a great breadstick!
-
Customization Options: What’s truly fantastic about homemade cheesy breadsticks is their versatility. Want to experiment? Add in your favorite herbs or spices, or switch up the cheese for a unique twist that suits your taste.
-
Great for Leftovers: If there are any leftovers (which is rare!), these breadsticks can be easily reheated for a quick snack or side dish. They freeze well too, so you can enjoy them anytime a craving strikes.
With all these perks, you’ll understand why this recipe is sure to become a staple in your kitchen!

Variations for Homemade Cheesy Breadsticks
Getting adventurous with your homemade cheesy breadsticks can elevate your snack game to new heights. The beauty of this recipe is its versatility, allowing you to customize flavors to suit your palate or to use what you have on hand.
Classic Italian Twist
Consider adding Italian herbs like oregano, basil, and thyme to your breadstick dough. These fresh flavors can transform your cheesy breadsticks into something reminiscent of your favorite Italian eatery. Just a teaspoon of each can work wonders!
Bold Barbecue Flavor
For a fun twist, brush your homemade cheesy breadsticks with barbecue sauce before adding cheese. This sweet and smoky flavor is a perfect complement to the gooey cheese, taking them to the next level for your pizza night.
Spice it Up
If you’re feeling bold, sprinkle red pepper flakes or even a touch of cayenne pepper into the cheese mix. This adds a delightful kick that’s perfect for spice lovers. Pair them with a cool ranch or blue cheese dip for a delightful contrast.
Sweet Cinnamon Delight
On the sweeter side, mix in some cinnamon and a touch of sugar to your cheesy blend. After baking, drizzle warm honey or maple syrup over you can enjoy a decadent dessert that’s still quick and easy to prepare.
Fun Toppings
Don’t stop at just cheese! Chopped jalapeños, garlic, or even fresh spinach can make your homemade cheesy breadsticks uniquely yours. Experiment with different combinations and find your favorite!
Cooking Tips and Notes
Creating the perfect homemade cheesy breadsticks is less about the recipe and more about the journey. Just picture a cozy evening with the smell of freshly baked, cheesy goodness wafting through your kitchen—it’s like a warm hug for your senses. Here are some handy tips to elevate your breadstick game:
Use Fresh Ingredients
- Yeast: Activate your yeast in warm water (not boiling!) to ensure it blooms beautifully. This step is crucial for achieving those fluffy, airy breadsticks.
- Cheese: Opt for a mix of your favorite cheeses. Mozzarella offers that stretchy texture, while a sprinkle of parmesan can amp up the flavor profile.
Mastering the Dough
- Kneading: Don’t skip the kneading! Knead the dough for at least 5-7 minutes until it’s smooth and elastic. This extra effort rewards you with a delightful texture.
Topping Techniques
- Herbs and Spices: Before baking, brush your dough with melted butter and sprinkle garlic powder, Italian herbs, or even red pepper flakes for that extra zing. Personalize your homemade cheesy breadsticks to suit your taste.
Baking Tips
- Oven Temperature: Make sure your oven is preheated. A hot oven creates a crisp outer layer while keeping the inside wonderfully soft.
- Storage: If you have leftovers (which is rare!), store them in an airtight container. Reheat briefly in the oven for that freshly baked taste.
Your homemade cheesy breadsticks deserve some extra love—follow these tips, and you’ll elevate your baking experience to something memorable!
Serving Suggestions for Homemade Cheesy Breadsticks
Looking to elevate your homemade cheesy breadsticks experience? Let’s explore some engaging serving suggestions that will make your breadsticks shine.
Pair with Dipping Sauces
Nothing complements the cheesy goodness like a variety of dipping sauces. Consider serving your breadsticks with:
- Marinara Sauce: A classic choice that adds a delicious tangy flavor.
- Garlic Butter: Melted butter infused with minced garlic brings a rich, savory touch.
- Ranch Dressing: The coolness of ranch pairs surprisingly well with warm cheesy bread.
Create a Snack Platter
Why not turn your breadsticks into the star of a casual gathering? Accompany them with:
- Fresh Veggies: Carrot and celery sticks not only add color but freshness.
- Cheese Board: Offer a selection of cheeses to complement the flavors.
- Cured Meats: Salami or prosciutto can provide a delightful contrast with their savory notes.
Enjoy with a Salad
For a balanced meal, serve your homemade cheesy breadsticks alongside a crisp salad. A simple mixed greens salad with vinaigrette can lighten the meal and make it feel complete.
With these suggestions, you’re all set to enjoy your cheesy creations in a variety of delightful ways!
Time Breakdown for Homemade Cheesy Breadsticks
Creating delicious homemade cheesy breadsticks is not just about the final product; it’s also about the experience of baking. Here’s a handy time breakdown to guide you through the process effortlessly.
Preparation time
Expect to spend about 15 minutes gathering your ingredients and mixing the dough. This is where the anticipation builds!
Rising time
After preparing the dough, allow it to rise for 1 hour. This is crucial for achieving that soft, fluffy texture, so don’t skip this step.
Baking time
Once that dough has risen nicely, bake your cheesy breadsticks for 20 minutes. This is the moment when your kitchen fills with irresistible aromas.
Total time
From start to finish, your adventure in making homemade cheesy breadsticks takes roughly 1 hour and 35 minutes—worth every second for such cheesy goodness!
Nutritional Facts for Homemade Cheesy Breadsticks
Enjoying homemade cheesy breadsticks is not only a delectable treat but also offers some interesting nutritional insights. Let’s break down what to expect in each cheesy bite.
Calories
In each serving of homemade cheesy breadsticks, you’ll find approximately 150 calories. This makes them a satisfying snack without too much guilt, especially when shared with friends during a cozy night in.
Protein
These cheesy delights pack around 6 grams of protein per serving, thanks largely to the cheese. It’s a great way to enjoy a tasty snack while still getting some essential nutrients that support your healthy lifestyle.
Sodium
The sodium content can be on the higher side, averaging about 400 milligrams per serving. If you’re watching your sodium intake, consider using lower-sodium cheese or cutting back on added salt. Balancing flavors without overdoing it is key to enjoying your homemade cheesy breadsticks responsibly.
FAQs About Homemade Cheesy Breadsticks
Creating homemade cheesy breadsticks can lead to so many delicious moments. Whether you’re hosting a casual get-together or just enjoying a cozy night in, here are some commonly asked questions to elevate your cheesy breadstick experience.
How can I make my breadsticks fluffier?
To achieve that light and fluffy texture in your homemade cheesy breadsticks, the key is to focus on your dough. Consider the following tips:
- Use Fresh Yeast: Make sure your yeast is fresh and active. If it’s expired, your breadsticks may turn out dense.
- Let Dough Rise: Don’t rush the rising process. Allow the dough to rise until it doubles in size, usually about 1 to 2 hours.
- Knead Properly: Knead the dough well for about 5-10 minutes. This develops gluten, contributing to that desired fluffiness.
- Avoid Overworking: When shaping the dough into sticks, handle it gently. Overworking can lead to tough breadsticks.
Can I freeze leftover breadsticks?
Absolutely! If you’ve got leftover homemade cheesy breadsticks, freezing them is a fantastic way to enjoy them later. Just:
- Wrap Each Stick: Place them in an airtight container or wrap them tightly in plastic wrap, followed by aluminum foil.
- Label and Date: Don’t forget to label the container with the date so you know when they were made.
- Reheat Properly: When you’re ready to enjoy, simply thaw at room temperature, then reheat in the oven at 350°F for about 10 minutes for that fresh-baked taste.
What can I dip my cheese breadsticks in?
Dipping sauces can take your homemade cheesy breadsticks to a whole new level. Here are a few crowd-pleasers:
- Marinara Sauce: The classic choice, providing a tangy contrast to the cheesiness.
- Garlic Butter: Melted garlic butter for a rich, savory dip is unbeatable.
- Ranch Dressing: A creamy, herby option that pairs surprisingly well with cheesy breadsticks.
- Hot Sauce: For those who love a kick, a drizzle of your favorite hot sauce adds wonderful spice.
Feel free to mix and match your dips to find your perfect pairing!
Conclusion on Homemade Cheesy Breadsticks
Creating homemade cheesy breadsticks can easily bring a touch of joy to your kitchen and mealtime. These delights are perfect for a cozy movie night or a casual gathering with friends. The aroma of melted cheese and freshly baked dough is enough to tempt anyone. Plus, when you make them yourself, you can customize the flavors and cheeses to suit your taste. Whether you enjoy dipping them in marinara or just savoring them on their own, they are sure to impress. So roll up your sleeves, gather your ingredients, and enjoy the process of making this delicious treat!
Print
Cheesy Breadsticks
- Total Time: 1 hour 15 minutes
- Yield: 12 breadsticks 1x
Description
Delicious homemade cheesy breadsticks perfect for any meal or snack.
Ingredients
Scale
- 2 cups all-purpose flour
- 1 cup warm water
- 2 tsp active dry yeast
- 1 tbsp sugar
- 1 tsp salt
- 2 tbsp olive oil
- 1 cup mozzarella cheese (shredded)
- 0 cup cheddar cheese (shredded)
- 2 tbsp butter (melted)
- 0 tsp garlic powder
- 0 tsp Italian seasoning
Instructions
- Preheat oven to 400°F (200°C). Line a baking sheet with parchment paper.
- In a bowl, mix warm water, sugar, and yeast. Let sit until foamy.
- Add flour, salt, and olive oil. Mix and knead until smooth.
- Let dough rise until doubled in size, about 45 minutes.
- Roll dough into a rectangle and place on baking sheet.
- Brush with melted butter, sprinkle with garlic powder, herbs, and cheeses.
- Bake for 12–15 minutes until golden and bubbly.
- Cool slightly, slice into breadsticks, and serve warm.
Notes
- For a spicier flavor, add red pepper flakes.
- These can be served with marinara sauce for dipping.
- Prep Time: 15 minutes
- Cook Time: 15 minutes
- Category: Appetizers
- Method: Baking
- Cuisine: American
Nutrition
- Serving Size: 2 breadsticks
- Calories: 150
- Sugar: 1g
- Sodium: 320mg
- Fat: 7g
- Saturated Fat: 2g
- Unsaturated Fat: 4g
- Trans Fat: 0g
- Carbohydrates: 18g
- Fiber: 1g
- Protein: 5g
- Cholesterol: 10mg